


I love finding new and interesting ways of reusing old candle containers, especially when I’m beautifying my home in the process! These mini pedestal planters are a great way to add a touch of green to your indoor living space, and are really easy to make.
Project List:
- Used 9oz Soy Candle Jars or Glass Jars of Your Choice
- Glass Candlesticks in Varying Heights
- Weldbond Glue, or High Melt Hot Glue
- Small River Rock Stones
- Preserved Moss
- 2″ Potted Terrarium Plants
Now let’s get started!

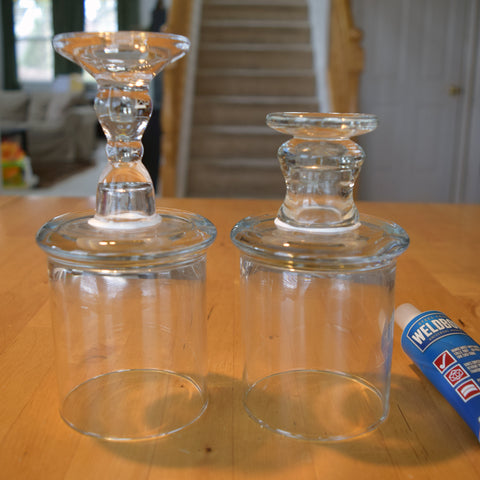
First things first! We need to glue the glass candlesticks to the base of the old candle jars. In order for the glue to adhere properly, you will want to remove any stickers from the bottom of your jars. Otherwise you will be gluing your candlesticks to a sticker instead of the jar, and that could end badly…
You can use weldbond glue as I have done here, or you can try high temp hot glue. If you use the weldbond, it says it takes 1 hour to set up, but it really took more like 4 hours to be hard enough to work with. You’ll be able to tell because the glue clears as it dries.
The first time I tried this project I was impatient, and I only waited one hour for the jars to dry. One of them fell over and nearly broke… Don’t be like me, wait for the glue to dry clear! Or maybe use hot glue? I don’t know how well it will hold but if someone wants to try it and get back to me…
Once the glue is dry you are ready for the next step. Filling your containers!
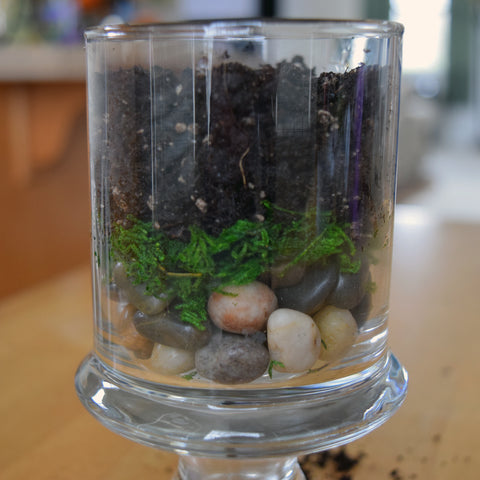
First you put in a layer of river rocks. Or maybe we should call these river pebbles? Either way, you want a layer about 1.5″ deep to provide drainage so the plants roots don’t sit in standing water and rot.

Next we are going to add a layer of moss. You want to use the kind of moss that you buy at the craft store, or at a garden center, not the kind you just picked out of your yard. The moss from your yard might look nice, but it could also be harboring bacteria, spores, or seeds which could turn your cute planter into an unsightly mess.
The moss serves the purpose of adding a bit of color to our layers, but also acts as a barrier between the soil and the river rock layer so the layers are distinct and crisp.
Before putting the moss in the jar, moisten it with water and wring it out so its just damp. You want about 1/4″ layer of moss on top of the river rocks.

With the moss in place, it’s time to prep our plants. Working over a paper plate, carefully take your plants out of their pots one at a time, and remove the excess soil around the root ball.
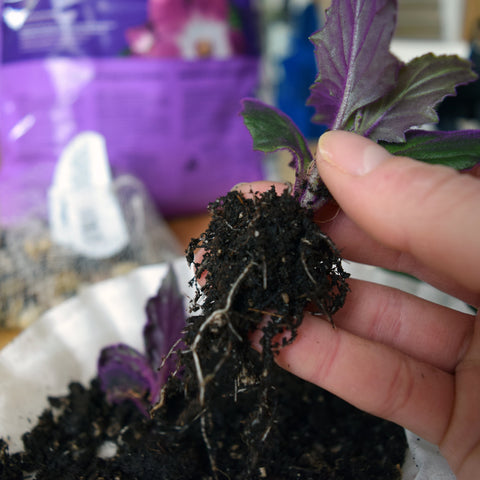
Using your paper plate, pour this excess soil into your glass jar.
Then use a pencil or your finger to poke a hole in the soil to fit the root ball of the plant. Place the plant in the hole and gently push the soil down around the roots.
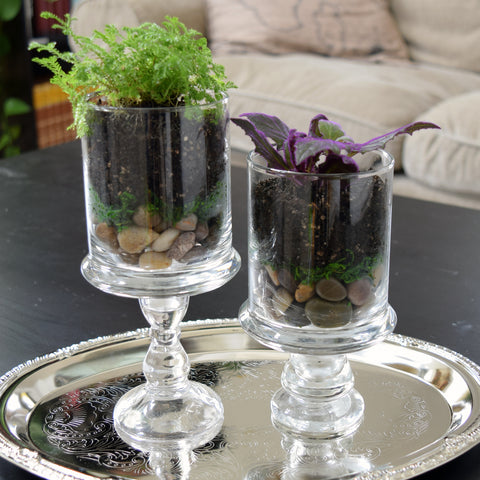
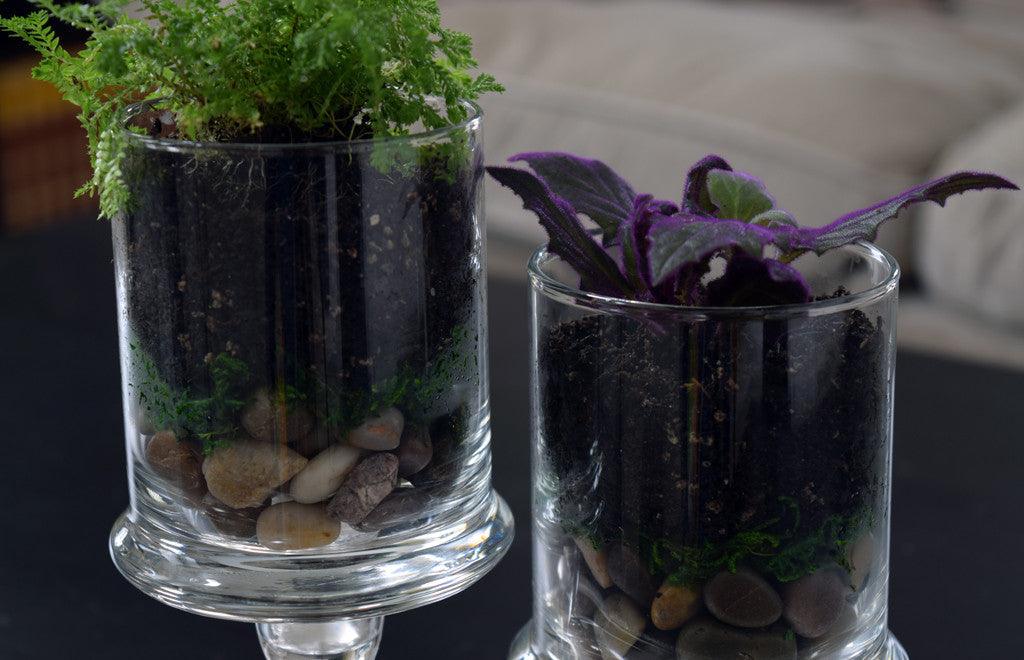
And that’s all there is to it! Just add a little water to your jars and find a semi sunny spot in your house to display your new beauties!
The plants you see in the above picture are Purple Passion Plant, and a variety of Spikemoss, both of which were purchased at Lowe’s.


Leave a comment
This site is protected by hCaptcha and the hCaptcha Privacy Policy and Terms of Service apply.